
Understanding Image to Video Conversion
What is Image to Video Conversion?
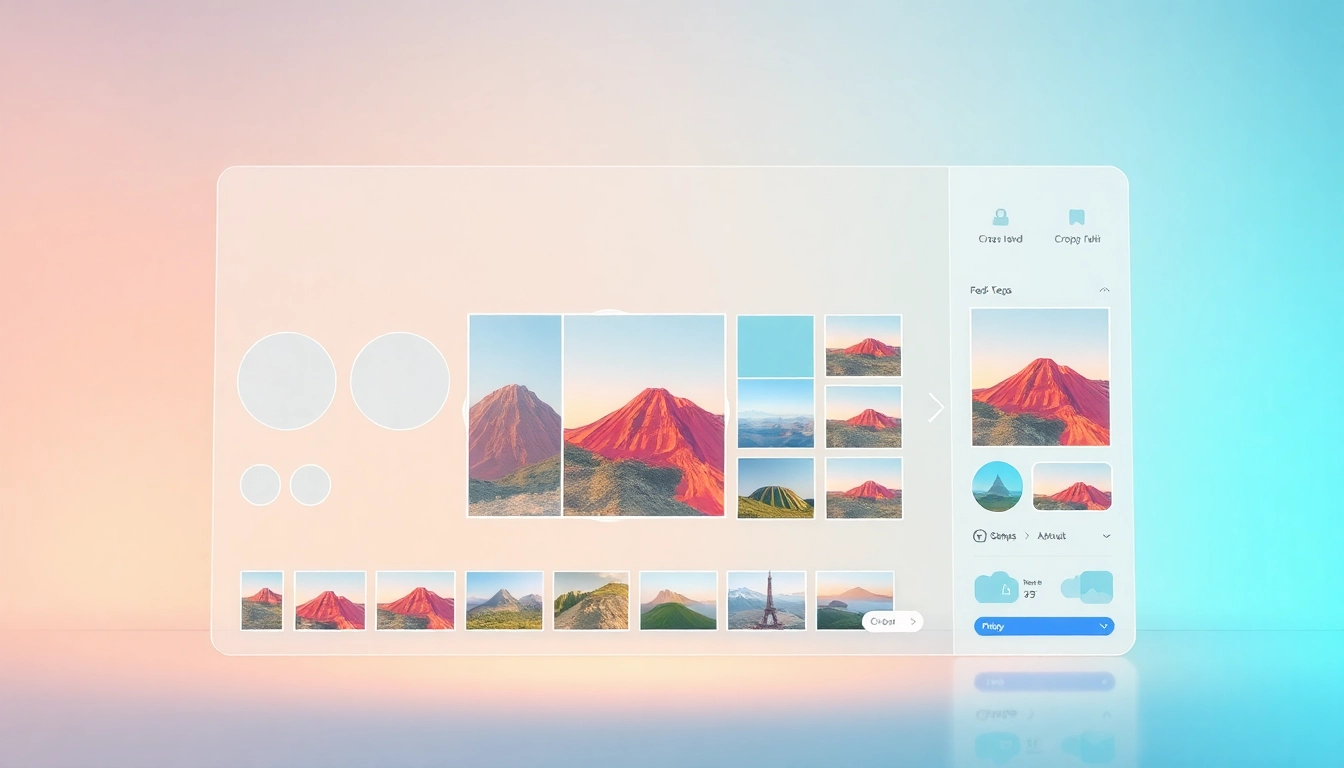
Image to video conversion is the process of transforming static images into dynamic video content. This technique utilizes software to stitch together a series of images, often accompanied by transition effects, audio tracks, or text overlays, to create a cohesive video that narrates a story or presents information visually. This transformation allows for engaging storytelling that captures the viewer’s attention in ways that static images alone may not. The image to video conversion process is increasingly significant in both personal and professional contexts, taking on various forms and applications across different industries.
Benefits of Converting Images to Videos
There are numerous advantages to converting images into videos. Here are some of the most significant benefits:
- Enhanced Engagement: Videos are a more engaging medium compared to static images. They combine visuals, motion, and audio, capturing the audience’s interest effectively.
- Accessible Storytelling: Videos help convey complex stories or messages more simply, making them accessible to diverse audiences.
- Higher Shareability: Video content is more likely to be shared than image content across social media platforms, boosting reach and visibility.
- Improved Information Retention: Viewers tend to remember information presented through videos better than that presented through images, improving recall and understanding.
- Versatility: Image to video conversions can be used across various applications, including marketing, education, and presentations, allowing for diverse use cases.
User Scenarios for Image to Video Projects
Various user groups can benefit from image to video projects, including:
- Marketers: Brands can use image to video conversions for advertisements, promoting products with compelling visuals, creating attention-grabbing posts for social media, and enhancing the overall customer experience.
- Educators: Teachers can utilize videos to make complex topics more digestible, illustrating ideas with images and animations that bring learning materials to life.
- Content Creators: Influencers and vloggers can create engaging content by combining their photography with audio and animated effects for platforms like Instagram or YouTube.
- Event Planners: Professionals can create captivating videos from event photos to share with attendees or publish as promotional material for future events.
Tools and Software for Image to Video
Top Image to Video Software Options
There are numerous tools available for image to video conversion, ranging from user-friendly applications for beginners to more sophisticated software for advanced users. Here are some of the top options:
- Adobe Premiere Pro: A professional-grade video editing software that offers extensive capabilities for image to video conversion, allowing users to create high-quality visuals.
- Animoto: An easy-to-use online platform perfect for users who want to quickly turn images into video with pre-designed templates and customizable options.
- Canva: Primarily known for graphic design, this platform also provides features for turning images into engaging video presentations.
- Filmora: A beginner-friendly video editing software that allows for seamless incorporation of images, audio, and effects to craft polished videos.
- VEED.IO: An online video editing tool that simplifies the image-to-video conversion process with drag-and-drop functionalities.
Comparison of Free vs. Paid Tools
When selecting software for image to video conversion, users must choose between free and paid options. Each has its advantages and limitations:
- Free Tools: These tools often lack comprehensive features but are suitable for basic projects. They may include watermarks, limited output quality, or restricted access to audio libraries.
- Paid Tools: Typically offer a wider range of features, such as higher resolution exports, advanced editing capabilities, and a larger selection of audio tracks. They are recommended for professional use, but they come with a cost.
Step-by-step Installation and Setup
Setting up image to video software typically follows these general steps, although specifics may vary by platform:
- Choose Your Software: Select software based on your needs and experience level.
- Download and Install: For desktop applications, download the installer from the official website and follow the on-screen instructions to install it. For online tools, create an account.
- Launch the Application: Open the software once installation is complete or log in to the online platform.
- Import Images: Use the interface to upload your selected images.
- Begin Editing: Use the offered features, such as adding transitions, audio, or captions to create your video.
- Export Your Video: After completing the edits, export your project in your desired format.
Techniques for Effective Image to Video Creation
Creating Engaging Visuals with Image to Video
To create compelling videos from images, consider the following techniques:
- Storytelling: Craft a narrative with the sequence of images, guiding the viewer through a clear storyline.
- Dynamic Transitions: Utilize smooth transitions between images to maintain flow and keep the viewer’s interest.
- Image Quality: Ensure high resolution of images to maintain clarity and professionalism in the video.
- Color Grading: Consistent coloring can help unify images and enhance visual appeal.
Incorporating Audio and Narration
Audio can significantly enhance the viewer’s experience. Here’s how to effectively use audio in your videos:
- Background Music: Choose music that complements the mood of your video and doesn’t overpower the visuals.
- Narration: Adding voiceover can provide context to the images, making the video informative and engaging.
- Sound Effects: Utilize sound effects to emphasize key moments, creating a deeper connection with the audience.
Editing Tips for Polished Results
A few editing tips can elevate your video to a professional standard:
- Consistency: Maintain a consistent style throughout the video to create a cohesive look.
- Simplicity: Avoid overloading your video with effects or transitions that could distract from the main message.
- Review and Revise: Take time to review your video multiple times. Seeking feedback can also help identify areas for improvement.
Best Practices in Image to Video Projects
Optimizing Video Quality and Format
To ensure high-quality videos, consider the following:
- Resolution: Aim for at least 1080p resolution for clarity on most platforms.
- File Format: Choose the right file format based on where the video will be displayed (e.g., MP4 for web uploads, MOV for professional presentations).
- Compression: While compressing videos for faster loading, balance quality and file size to prevent pixelation.
Ensuring Accessibility and User Engagement
To create accessible and engaging content, follow these practices:
- Add Captions: Including captions ensures that your video is accessible to those with hearing impairments.
- Engagement Features: Use call-to-action prompts to encourage viewers to interact with your content.
- A/B Testing: Experiment with different elements (like video length and style) to see which formats yield the best viewer engagement.
Measuring Success: Key Performance Metrics
Evaluating the effectiveness of your image to video projects is paramount. Focus on the following metrics:
- View Count: A basic indicator of reach and interest.
- Engagement Rate: Metrics such as likes, comments, and shares reveal how viewers interact with your content.
- Watch Time: The average length of time viewers stay engaged with your video is critical for understanding its effectiveness.
- Conversion Rates: Tracking how many viewers take action based on your video (e.g., signing up for a newsletter) is essential for ROI.
Common Challenges and Solutions
Addressing Compatibility Issues
When creating videos, compatibility issues can arise. To address these challenges:
- Research Formats: Before exporting, ensure the chosen format is compatible with your intended platforms.
- Test on Multiple Devices: Always check how the video plays on different devices and platforms to ensure a seamless experience.
Overcoming Creative Blocks
Creative blocks can hinder video production. Here are strategies to overcome them:
- Seek Inspiration: Look at successful videos for inspiration or ask peers for input.
- Take Breaks: Sometimes stepping away from the project can give you a fresh perspective upon returning.
Resource Management for Large Projects
Managing resources is crucial for large projects. Consider the following:
- Plan Ahead: Outline the workflow and allocate time to each phase of the production process.
- Utilize Collaboration Tools: Work with teams efficiently by using project management software to stay organized.
Frequently Asked Questions
What software do I need for image to video conversion?
There are many options, including Adobe Premiere Pro, Animoto, and Canova. Choose based on your skill level and project needs.
Can I convert images into videos for free?
Yes, there are free tools available, but they often come with limitations such as watermarks or lower quality exports.
How can I improve viewer engagement in my videos?
Use captivating visuals, add clear calls to action, and ensure audio complements your images for better engagement.
What video format is best for online sharing?
MP4 is widely regarded as the best format for online sharing due to its balance between quality and file size.
How do I measure the success of my image to video projects?
Track metrics like view count, engagement rate, watch time, and conversion rates to measure video effectiveness.