Understanding the Benefits of Wood Wall
Choosing to incorporate a wood wall in your home or office space brings forth numerous advantages. These walls not only enhance the overall aesthetic but also offer functional benefits that traditional materials may lack. Whether you’re considering a rustic finish or a modern twist, understanding the myriad benefits is crucial in decision-making.
Natural Insulation Properties
One of the standout benefits of a wood wall is its natural insulation properties. Wood is a poor conductor of heat, meaning it can effectively regulate temperature, keeping spaces warm in winter and cool in summer. This characteristic not only enhances comfort but also contributes to energy savings by reducing reliance on heating and cooling systems. Studies indicate that homes with wood walls can experience lower energy costs, resulting in a more sustainable living environment.
Visual Appeal and Aesthetic Value
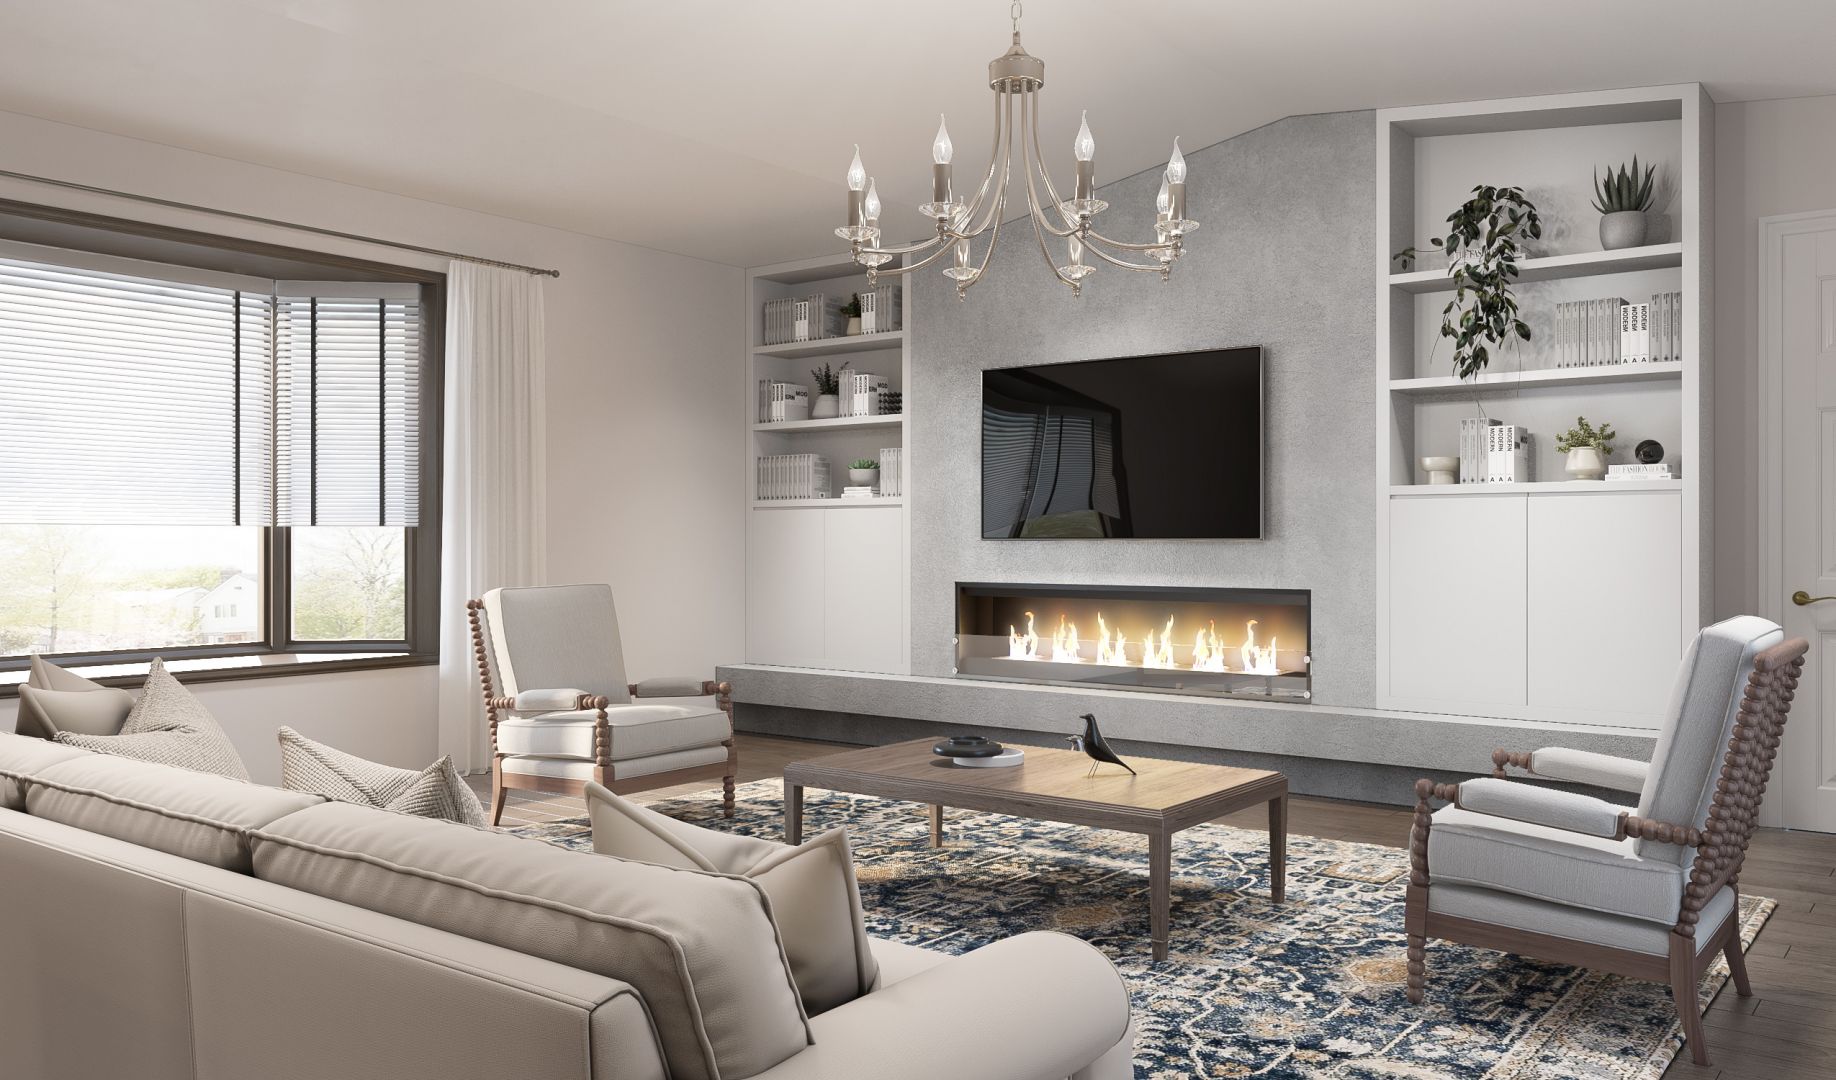
Wood walls introduce a warm, inviting atmosphere to any space. The natural grain patterns and colors of wood offer unique visual appeal, setting a serene backdrop for interiors. Homeowners can achieve various styles, from rustic and farmhouse vibes to sleek, modern aesthetics, by selecting the right type of wood and finish. Moreover, wood adds texture, which enhances visual interest and depth in design. In the world of interior design, aesthetic value significantly impacts home resale value, making wood walls a smart investment.
Durability and Longevity
Durability is another essential advantage of choosing a wood wall. Quality wood, when properly treated, can withstand the test of time, avoiding common wear and tear. Unlike drywall, which is prone to dings and holes, wood walls can often be repaired with minimal effort, maintaining their charm. Some softer woods may require more maintenance, but overall, many types of wood can last for decades, even generations, adding immense value to your living space.
Types of Wood Wall Finishes
When it comes to enhancing the aesthetic and protective qualities of a wood wall, the type of finish used plays a crucial role. There are three primary types of wood wall finishes: painted, stained, and natural. Each has its unique characteristics that appeal to different tastes and needs.
Painted Wood Wall
Painted wood walls offer a versatile and customizable option for homeowners looking to express their personality. Available in virtually any color, paint allows for endless creativity. Moreover, painted finishes are relatively easy to apply and can rejuvenate old wood, giving it a new lease on life. The downside, however, is that painted wood can be more susceptible to scratching and may require more frequent touch-ups over time.
Stained Wood Wall
Staining enhances the wood’s natural beauty while also providing a layer of protection against moisture and wear. Stains come in various shades and hues, allowing for a more authentic wood appearance while offering some degree of customization. This finish highlights the wood grain, adding depth and richness that paint often cannot replicate. Stained walls can blend beautifully with different decor styles, enhancing the visual warmth of the space.
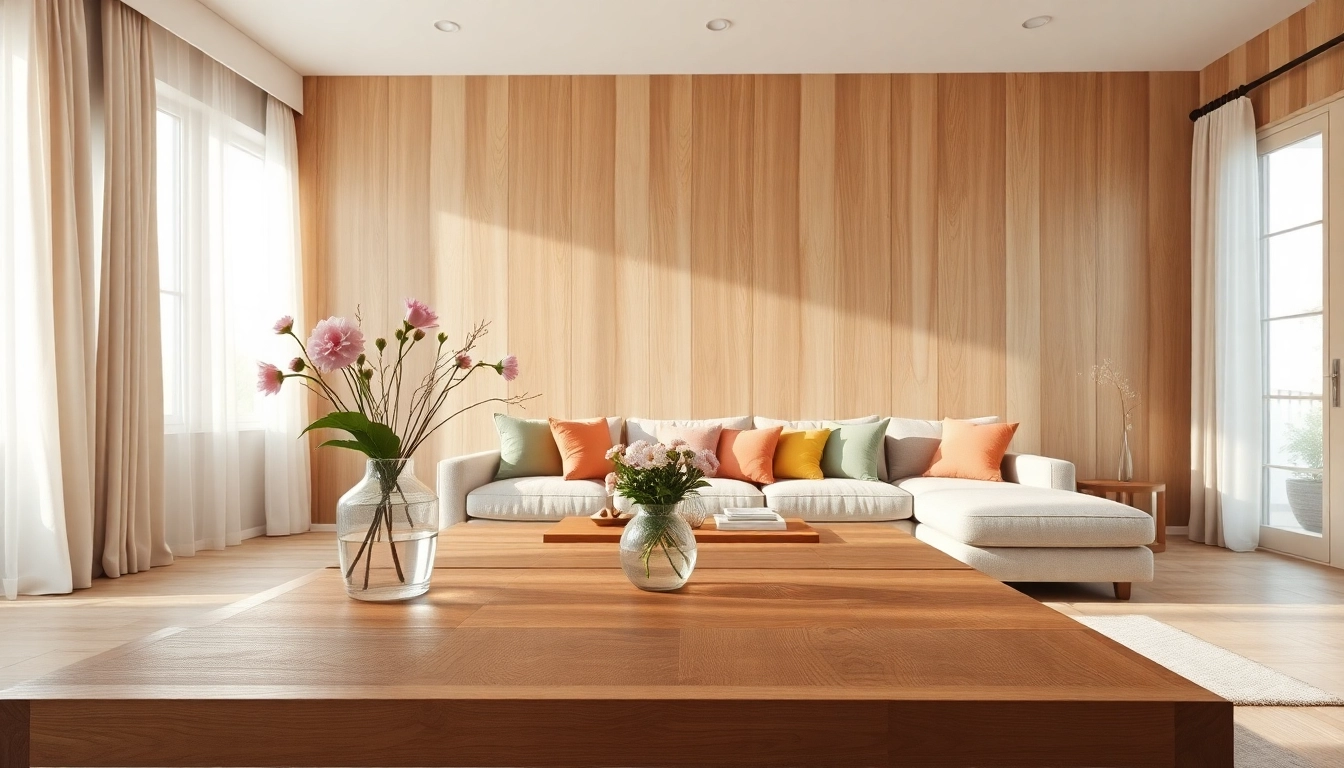
Natural Wood Wall
A natural wood wall showcases the wood in its purest form. This option is perfect for those who appreciate organic materials and want to celebrate nature within their interiors. Without any finish, natural wood brings a fresh and earthy vibe to a room. However, it may require more maintenance to protect against scratches and moisture, as exposed wood is more prone to damage compared to finished surfaces.
Installation Techniques for Wood Wall
Installing a wood wall can be a rewarding project, and there are several ways to approach it, whether you are a DIY enthusiast or prefer hiring professionals. Understanding the installation techniques will help ensure a smooth and successful project.
DIY Installation Steps
For those inclined to take on the project themselves, installing a wood wall can be a fulfilling task. Here are some basic steps to consider:
- Choose Your Wood: Select the type of wood and finish that suits your style and preferences.
- Prepare the Wall: Ensure the wall is clean, dry, and free of imperfections.
- Measure and Cut: Measure the wood accurately and cut it to size, making sure to account for gaps and fittings.
- Install Wood Panels: Begin at the bottom and work your way up, using adhesive and/or nails to secure the panels. Ensure they are level.
- Finishing Touches: Fill any gaps or holes, sand down rough edges, and apply the finish of your choice.
Proper planning and preparation will help you avoid common pitfalls associated with DIY installations.
Professional Installation Considerations
Hiring a professional for your wood wall installation might be the best choice if you lack experience or the necessary tools. Professionals can offer valuable expertise and guarantee a more polished and seamless finish. Before opting for professional installation, consider the following:
- Get Multiple Quotes: Research different installers and compare quotes to find the best option for your budget.
- Check Credentials: Verify the contractor’s experience in wood installations and request references.
- Discuss Design Preferences: Communicate your design vision clearly to ensure the final outcome meets your expectations.
Common Mistakes to Avoid
Whether you are installing a wood wall yourself or overseeing a professional, be mindful of these common mistakes:
- Poor Planning: Failing to plan measurements and layouts can lead to uneven placements.
- Ignoring Moisture Issues: Installing wood walls in high humidity without adequate treatment can result in damage over time.
- Overlooking Finishing: Neglecting to finish the wood appropriately may lead to wear and deterioration.
Maintenance Tips for Wood Wall
To ensure that your wood wall remains beautiful and functional over time, it’s essential to establish a regular maintenance routine. Following simple care guidelines can prolong the life of your wood wall and keep it looking great.
Cleaning and Care Guidelines
Cleaning your wood wall is crucial to removing dust, dirt, and stains that can accumulate over time. Here are some effective cleaning practices:
- Dust Regularly: Use a soft cloth or duster to wipe away dust.
- Use Appropriate Cleaners: Avoid harsh chemicals; instead, use a mixture of mild soap and water.
- Spot Clean: Tackle stains promptly to avoid permanent marks, using a damp cloth.
Restoration Techniques
Over time, wear and tear can occur, affecting the appearance of your wood wall. Restoration techniques can bring back its luster:
- Sanding: Lightly sand affected areas to remove scratches or imperfections.
- Re-staining: If the color has faded, re-staining can refresh the appearance.
- Sealing: Reapply sealants to maintain moisture protection after restoration.
Preventing Damage and Wear
Preventive measures can save you from costly repairs. Here are some tips:
- Control Humidity: Use a dehumidifier in damp areas to prevent wood warping.
- Use Furniture Pads: Protect the wall from scratches caused by furniture or decor.
- Limit Sun Exposure: UV rays can fade wood; consider using curtains or shades.
Frequently Asked Questions About Wood Wall
What is the best wood type for wall installations?
The best wood types are oak, pine, and cedar due to their durability, aesthetic appeal, and resistance to wear.
Can I install a wood wall in a moist environment?
Yes, but choose moisture-resistant woods like cedar and ensure proper sealing to prevent damage.
How do I maintain my wood wall?
Regular dusting, using mild cleaners, and reapplying finishes will help maintain its beauty.
What colors work best with a wood wall?
Neutral colors like white, gray, or pastels complement wood walls beautifully, enhancing its natural warmth.
Is wood wall installation a DIY project?
Yes, with proper planning and tools, wood wall installation can be a fulfilling DIY project for many homeowners.